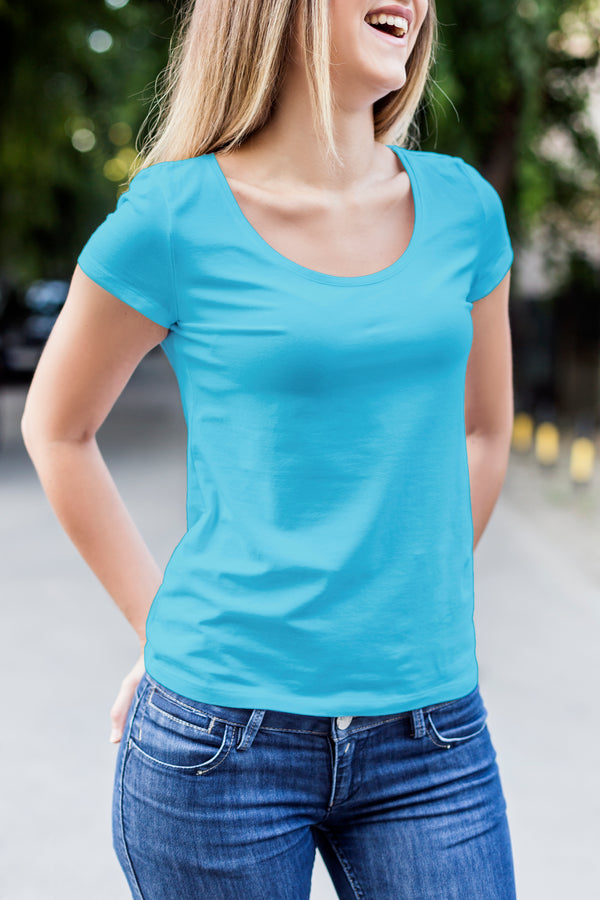
When you shop for shirts off the rack, you’re often forced to settle for “close enough.” Sleeves might be too long, the chest too tight, or the collar just a little uncomfortable.
That’s why learning how to measure for a custom shirt is a game-changer.
By getting your exact numbers, you get a fit that is tailored to your body, not just an industry-standard size.
Whether you’re dressing for work, an event, or simply want shirts that feel and look better, these steps will help you measure confidently and accurately.
Preparing Before You Take Measurements
Before you start measuring, there are a couple of things you can do to set yourself up for success.
Grab a flexible measuring tape, have a notepad or your phone ready to jot down numbers as you go, and if possible, position yourself near a full-length mirror.
What you wear also matters. Stick to light or fitted clothing so the tape sits directly against your body. Bulky layers add extra inches you don’t want.
Finally, pay attention to your posture. Standing straight but relaxed ensures consistent results. Slouching or puffing out your chest will only throw off the accuracy.
Neck and Shoulder Measurements
Start with the neck since it sets the tone for a comfortable collar. Wrap the tape around the base of your neck where the collar naturally sits. Place one finger between your neck and the tape so the collar won’t feel suffocating when buttoned.
Next, measure shoulder width. Run the tape from the edge of one shoulder seam across your back to the other.
Shoulders are easy to misjudge, especially if you hunch forward. Keep your back straight and arms relaxed at your sides to capture the natural span.
This step is crucial because poorly measured shoulders can throw off how the entire shirt drapes.
Chest and Torso
For the chest, position the tape around the fullest part, which is usually across the nipples, while keeping it level around the back.
Don’t inflate your chest by taking a deep breath. Instead, stand naturally so the shirt will fit comfortably when you move.
Once the chest is done, move to the waist and stomach. Place the tape around the narrowest part of your torso, usually just above the belly button. If your midsection is broader than your waistline, measure both points and note them.
A shirt that’s too tight in the stomach looks awkward, while one that’s too loose loses its tailored feel. Keeping the tape snug but not restrictive makes all the difference here.
Sleeve and Arm Measurements
The right sleeve length transforms how a shirt looks and feels. To measure it, start at the shoulder point and run the tape down to your wrist bone.

Next, take the circumference of your bicep at its widest point and your wrist at its narrowest. These measurements prevent sleeves from feeling constricting or baggy.
Keep in mind that movement matters. A well-measured sleeve allows you to reach, bend, and move without pulling at the seams.
Shirt Length and Hem Details
Shirt length depends on how you plan to wear it. For tucked-in styles, measure from the top of your shoulder near the neck down past the hip to where you’d like the hem to sit.
Generally, a shirt that reaches mid-seat is ideal for staying tucked without excess fabric.
If you prefer to wear shirts untucked, adjust the length slightly shorter. Use your torso proportions as a guide – shorter individuals don’t need extra length, while taller builds benefit from a bit more.
Hem measurements may not seem like a big deal, but they can dramatically change the balance and overall style of your shirt.
Precision Tips: How to Measure Yourself for a Shirt Without Errors
Getting someone to help makes the process easier, but if you’re flying solo, you can still nail it.
Stand in front of a mirror to check tape placement, ensuring it stays level around your body. Don’t rush through the process; it’s better to measure twice and write down the average.
Another tip is to measure at the same time of day you’ll usually wear your shirts. For example, measuring first thing in the morning might give you slightly different results compared to later in the day when your body naturally expands a little.
By practicing these steps, you’ll feel more confident about how to measure yourself for a shirt, which is a skill that saves time and ensures every future order fits like it should.
Translating Measurements into the Perfect Custom Shirt
Once you have your numbers, the real magic of customizing your T-shirts begins.

Tailors use these measurements to cut fabric with precision, shaping it to match your body type and style preferences.
This is where your notes on the fit play a big role.
For example, if you want a slimmer look, the tailor will keep allowances tighter around the chest and waist. If comfort is your top priority, they’ll build in more ease.
Even small tweaks, like adjusting sleeve width or shirt length, can change how polished and comfortable the final result feels.
Final Thoughts: Mastering the Art of Fit
Figuring out how to correctly measure for a custom shirt allows you to invest in clothing that truly fits your lifestyle.
Once you know how to measure yourself for a shirt, you’ll never have to settle for a less-than-perfect fit again.
When you put in the effort to measure accurately, you take control of how you look and feel in your clothes. That small step makes a lasting difference every time you button up a shirt tailored just for you.
Elevate Your Style with AA Custom T-Shirt Las Vegas
At AA Custom T-Shirt in Las Vegas, we take your exact measurements and bring them to life with high-quality custom apparel. Whether you need one shirt or a bulk order, we’ve got you covered with direct-to-garment printing, custom embroidery, custom design options, and more.
Ready to transform your wardrobe? Let’s create custom T-shirts that fit you perfectly, inside and out. Explore our offer today.